

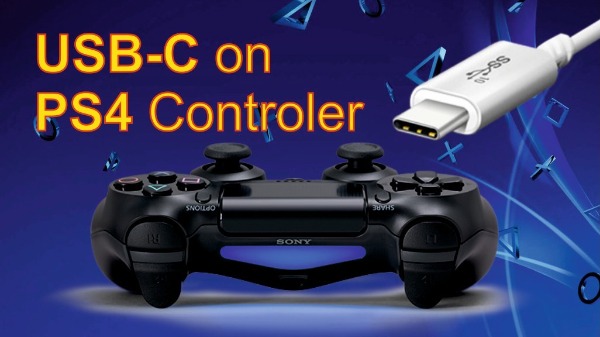
This video will show you how to open the PlayStation 4 Dualshock Controller and upgrade Micro USB to USB-C port. You can also replace the battery:
Step 1: Open the Controller Casing
1. Remove Screws: Turn the controller over and unscrew the four 6.0 mm Phillips screws from the rear shell.
2. Pry Open Seams: Insert a plastic pry tool into the seam along the side of one of the handgrips. Slide it upward toward the trigger buttons to release the internal plastic clips.
3. Separate the Halves Carefully: Gently split the front and back shells apart. Do not yank them completely apart, as a fragile white flexible flat ribbon cable connects the charging board to the main motherboard.
4. Disconnect the Ribbon: Grip the white ribbon cable near its connector on the mainboard side and pull it straight out of its socket. Set the front half of the controller (with the thumbsticks and buttons) aside.
More details on the website: PCMasterX.COM
